Ever opened up your Device Manager to find a mysterious "PCI Simple Communications Controller" with a little yellow warning triangle next to it? It’s a classic, and you're definitely not alone. It's one of those things that often pops up right after you've done a fresh Windows install.
Contrary to what the name suggests, this isn’t some simple, generic device. It’s actually how Windows labels your computer's Intel Management Engine Interface (MEI) when it can't find the right driver for it.
So, What Is The PCI Simple Communications Controller, Really?
Think of the MEI as a dedicated messenger service between your operating system and the motherboard's chipset. It handles some pretty important behind-the-scenes tasks, especially those related to system management, stability, and even security features.
When that driver is missing, Windows sees the hardware but has no idea what it is or how to talk to it. The yellow exclamation mark is its way of throwing its hands up and saying, "I see this thing, but I need instructions!" It's not a sign of broken hardware, just a missing piece of software.
Why Does This Error Pop Up?
Here are the most frequent situations that cause the PCI Simple Communications Controller error to appear.
| Scenario | What's Happening Behind the Scenes |
|---|---|
| Fresh Windows Installation | This is the number one cause. Windows has a massive library of drivers, but it doesn't always have the specific, manufacturer-tweaked chipset drivers for every motherboard out there, especially the MEI. |
| Major Windows Update | Sometimes, a big feature update can overwrite or corrupt an existing driver, causing the device to become unrecognised again. |
| Motherboard or CPU Swap | If you've upgraded your core hardware, the old chipset drivers won't work. Windows will spot the new hardware but won't have the software to run it until you install it. |
A fresh Windows install is by far the most common culprit. Windows Update does a decent job of grabbing most of what you need, but specialised chipset components like the MEI often get overlooked.
The Bigger Picture: System Communication
At its core, this driver issue is all about communication. Without the MEI driver, certain conversations inside your PC just can't happen properly, which can lead to instability or features not working as they should.
It's a bit like how unified communications systems ensure all devices and platforms in an office can talk to each other. When everything is connected and speaking the same language, the whole operation runs smoothly. The same principle applies right inside your computer case. For your PC to be stable and reliable, all its internal components need to communicate flawlessly.
If you find the world of automated communication systems interesting, our guide on IVR technology is a great place to learn more: https://www.voicetta.com/what-is-ivr.
Pinpointing the Correct Driver with Hardware IDs
Before you go hunting for downloads, we need to do a little detective work inside your PC. That "PCI Simple Communications Controller" name you're seeing is just a generic label Windows slaps on a device when it hasn’t got a clue what it is. To find the right driver, we need to uncover the device's true identity, which is stored in its Hardware IDs.
Think of a Hardware ID as a unique fingerprint for every bit of hardware in your machine. This long string of characters holds two critical clues: a Vendor ID (VEN) and a Device ID (DEV). Once we have these, we can quickly look them up online to see exactly what we're dealing with. I’ve seen this a thousand times, and almost every single time, it turns out to be the Intel Management Engine Interface (MEI).
Digging Up the Hardware ID in Device Manager
This part is much easier than it sounds and takes all the guesswork out of the equation. Here’s how you can unearth the Hardware ID for that mystery controller:
- First, right-click your Start button and select Device Manager from the menu.
- In the Device Manager window, look for a category called Other devices. Expand it, and you'll see the controller, likely with a little yellow warning triangle next to it.
- Right-click on PCI Simple Communications Controller and choose Properties.
- Now, click over to the Details tab.
- From the "Property" dropdown menu, select Hardware Ids.
You’ll see a few lines of text pop up in the box below. The one we care about is usually the very first one. It will look something like this: PCI\VEN_8086&DEV_A13A&....
The number right after VEN is the Vendor ID (in this case, 8086 is Intel's code), and the number after DEV is the Device ID.
You've just gone from a vague error to a concrete hardware signature. This is the secret to grabbing the correct driver on your first try, saving you from the headache of compatibility problems and wasted time.
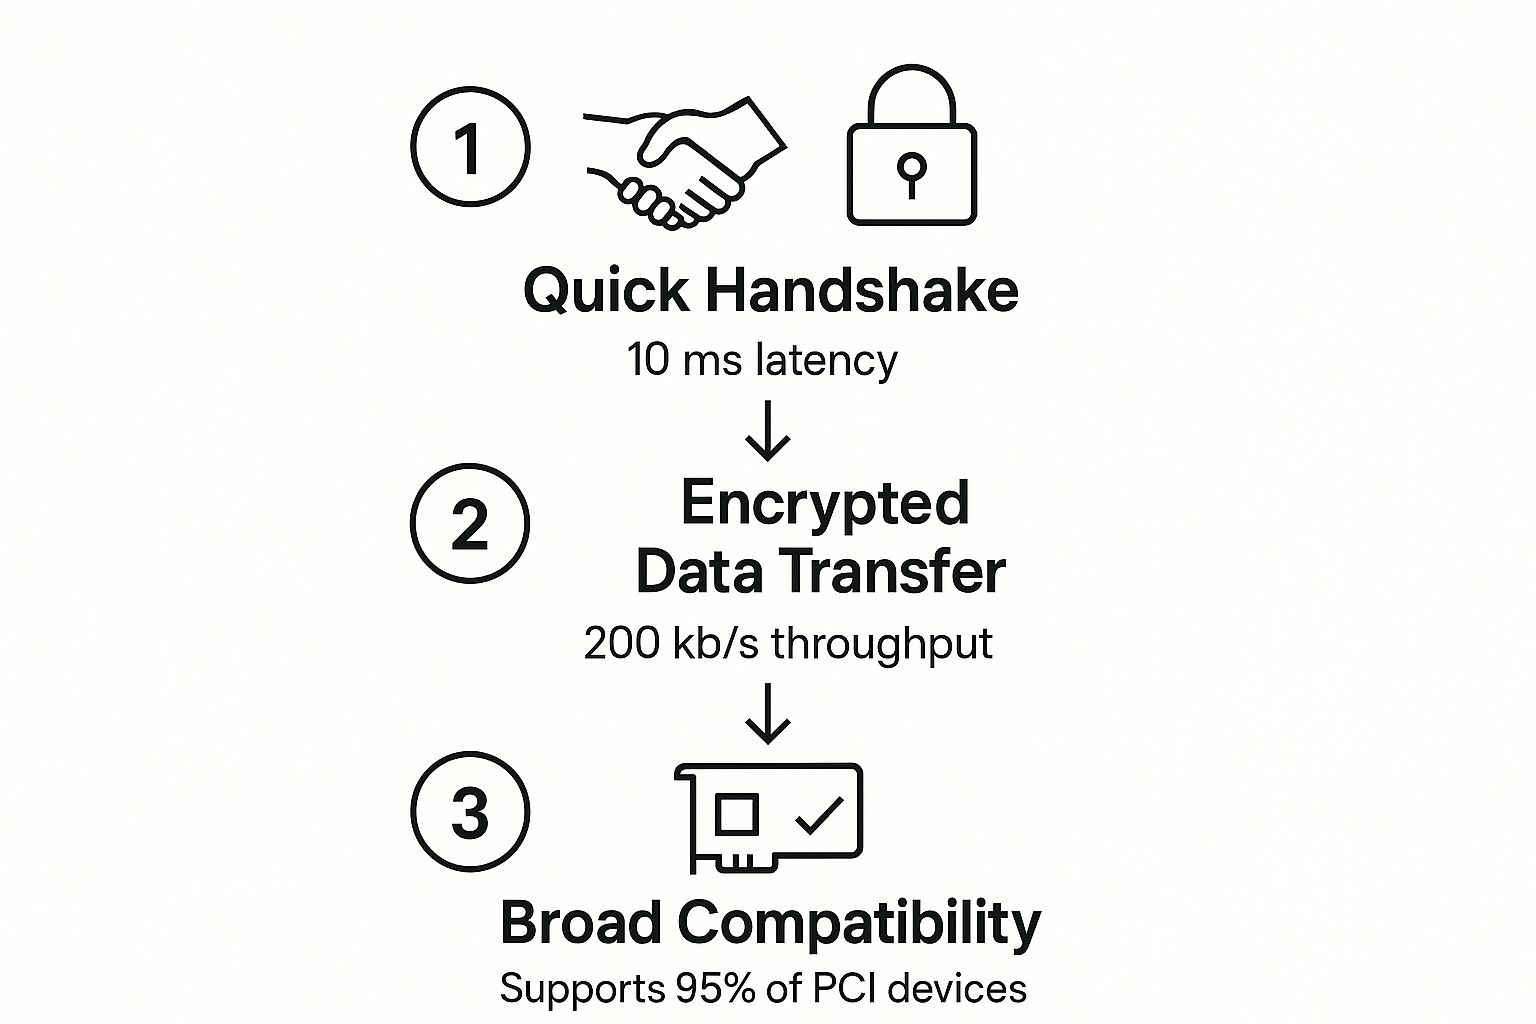
This just goes to show how the PCI protocol is built for speed and reliability, creating a solid backbone for all your internal components. Now that you have your specific IDs, you can use a PCI lookup tool to translate them into a real product name, getting you ready for the next step.
How to Safely Download the Official Driver

Alright, now that you know what you're looking for, the next part is crucial: getting the driver from a safe source. I can't stress this enough—always, always start with the official website of your computer or motherboard manufacturer. It's the only way to guarantee you're getting the right file without any nasty surprises.
Think of it this way: you wouldn't put just any old fuel in a high-performance car. You'd get the specific type recommended by the people who built it. The same logic applies here.
Steer clear of those third-party driver websites. Many of them are littered with adware, annoying toolbars, and sometimes even malware, all bundled into the download. Stick to the official sources; your computer will thank you for it.
Your First Stop: The PC Manufacturer
If you’ve got a pre-built machine from a company like Dell, HP, or Lenovo, their support website is the place to go. Before you head over, find your computer’s specific model number or service tag. It’s usually printed on a sticker on the tower, or on the bottom of a laptop.
Once you’re on the support site, punch in your model number and find the "Drivers & Downloads" section. Make sure you select your correct version of Windows.
You'll almost always find the PCI Simple Communications Controller driver under one of these headings:
- Chipset: This is the most common spot. It's often part of a larger package.
- Intel Management Engine Interface (MEI) or Intel Management Engine Components: Sometimes it’s listed on its own like this.
Always grab the newest version available. Keeping your drivers current is a big part of system health and security. This simple action is a key piece of the bigger picture, and you can learn more about the importance of regular software updates to see why it matters so much.
Alternative Sources for Custom Builds
Did you build your own PC? No problem. Instead of a computer manufacturer's site, you'll go directly to the website for your motherboard's maker—think ASUS, Gigabyte, or MSI.
The process is pretty much the same. Find the support page for your specific motherboard model and look for the chipset or MEI driver. As a last resort, you can visit the chipset maker’s website, like Intel’s Download Centre, but the drivers from your motherboard manufacturer are usually better tailored to your specific hardware.
Historically, the PCI standard became a cornerstone of computer architecture across Europe, including Poland, from the mid-1990s. By the early 2000s, over 85% of new desktop computers sold in Poland were built with PCI-compliant hardware, highlighting its importance. Making sure these components have the right drivers is fundamental for a stable system, a principle that applies just as much in tech as it does in professional fields requiring https://www.voicetta.com/automated-quality-management.
Alright, you’ve got the driver file, which is half the battle won. Now it’s time to actually install it and banish that little yellow warning icon from your Device Manager for good.
Getting the Driver Installed
Most of the time, you'll have downloaded a straightforward installer file, usually ending in .exe. This is the easy route. Just double-click the file, and a setup wizard will pop up to guide you. It’s typically a simple matter of clicking “Next” a few times, agreeing to the terms, and letting it do its thing.
But what if you didn’t get an .exe file? Sometimes, manufacturers package drivers in a compressed folder (like a .zip file) containing a jumble of files with extensions like .inf, .sys, and .cat. It might look a bit intimidating, but it just means we need to take a more hands-on approach and install it manually.
The Manual Installation Method
If you're faced with a folder of driver files instead of a simple installer, don't worry. We'll point Windows directly to them.
Here’s how you do it:
- Head back to the Device Manager and find the PCI Simple Communications Controller again (it’ll still have that yellow mark). Right-click on it.
- From the menu, choose Update driver.
- A new window will appear. Select the option that says Browse my computer for drivers.
- Now, click the "Browse..." button and navigate to the exact folder where you saved and extracted the driver files.
- Make sure the little box next to "Include subfolders" is ticked—this is crucial. Then, click "Next".
Windows will now scan that folder, find the necessary .inf file, and install the driver. This method gives you complete control, making sure the system uses the precise files you downloaded.
A Quick Tip from Experience: These driver installations are often lightning-fast, sometimes finishing in just a couple of seconds. It's not a sign that something went wrong; many of these driver packages are tiny.
Verifying the Fix
With the installation done, it’s time for the moment of truth. Go back and look at your Device Manager. If everything went to plan, the "Other devices" category should have vanished completely.
So where did it go? Look further down the list, usually under the System devices section. You should now see a new, properly named entry: Intel(R) Management Engine Interface. The key is that the yellow warning triangle is gone, which is the ultimate confirmation of a job well done.
As one final, absolutely essential step, restart your computer. The installer might not always ask you to, but I always recommend it. A reboot ensures Windows properly loads the new driver into the system memory, locking in the fix and preventing any odd behaviour down the line.
Right, so you've gone through the steps, run the installer, and... nothing. That infuriating little yellow exclamation mark is still mocking you from the Device Manager. Don't throw your mouse just yet. I've been there, and it's usually down to a simple mismatch we can sort out.
Sometimes the installation wizard will happily click through to the end, telling you everything is fine, but the device stays unrecognised. Other times, Windows will just flat-out refuse, hitting you with a "this driver is not compatible" error. Both of these point to the same few culprits.
More often than not, the problem is a simple 32-bit vs. 64-bit mix-up. It's an easy mistake to make. You might have downloaded a 32-bit driver for your 64-bit Windows system, or the other way around. Always take a second look at the manufacturer's download page to make sure you've selected the correct version for your specific operating system (e.g., Windows 10 64-bit).
Changing Up Your Tactics
If you're absolutely sure you've got the right version and it's still not working, it's time to try something different. The next logical step is to try an older driver. When it comes to hardware, newer isn't always better, especially if your machine has a few years on it. Head back to the support page and look for a previous version of the Intel MEI driver. I've often found that a driver released closer to when my hardware was made works like a charm.
Another trick I lean on is forcing the installation using that manual "Have Disk" method we talked about earlier. This can be a real lifesaver, as it often bypasses picky installers that have wrongly decided your system isn't compatible. If you’ve tried all this and are still stuck, it might be time to call in the professionals. Getting help from dedicated IT support solutions can untangle more stubborn or complex driver conflicts.
The real secret here is just persistence. Sorting out driver problems is a game of elimination. Don't be afraid to try a different version or a different installation method. One of them is almost guaranteed to be the solution.
For systems where every component needs to communicate flawlessly, getting these details right is absolutely essential. It’s a bit like applying the foundational principles from our guide on https://www.voicetta.com/ivr-best-practices in a business environment—the small things have to work for the whole system to function properly.
Got Questions About This Pesky Driver Error? We've Got Answers
It’s completely normal to feel a bit puzzled when you bump into a vague error like the one for the PCI Simple Communications Controller. It's not exactly self-explanatory. Let's walk through a few of the questions I hear all the time.
So, What If I Just Leave It Alone?
Look, your computer isn't going to explode if you ignore the error. But it's really not a great long-term strategy. This driver is almost always tied to the Intel Management Engine Interface, and leaving it unresolved can make your system a bit wobbly, especially when you're pushing it hard. You could also be missing out on some handy power management features or even remote access capabilities without even realising it.
Can't I Just Disable It In Device Manager?
You could, but that's just sweeping the problem under the rug. When you disable a device, you’re basically telling Windows to stick its fingers in its ears and pretend it’s not there. The warning icon disappears, sure, but the hardware component still isn't working. It’s the digital equivalent of putting a piece of black tape over a warning light on your car's dashboard—the underlying issue hasn't gone anywhere.
The only real solution is to get the correct driver installed. This makes sure every piece of your hardware is playing nicely together, just like the manufacturer designed it to. A healthy system is a stable system, and that's just as true for a PC as it is for a business tracking its contact centre KPIs to ensure everything is running smoothly.
Why Is Windows Update Coming Up Empty?
This is a classic one. Windows Update is fantastic for a lot of generic drivers, but it often stumbles when it comes to highly specialised chipset software. PC and motherboard manufacturers don't just use the stock Intel MEI driver; they release their own custom-tweaked versions designed specifically for their hardware.
Windows Update’s massive library is built for general-purpose stuff, so it just doesn't have these bespoke files. That's why, for this particular component, you almost always have to go straight to the source—the manufacturer's support website—to get the right software.
At Voicetta, we get how crucial it is for every part of your communication system to work flawlessly. Our AI-powered platform makes sure every single customer call is handled with precision, 24/7, turning what could be missed calls into real opportunities for growth. See it in action at https://voicetta.com.